Tools and Parts Required |
Jack and Axle Stands
Wheel nut remover 7mm hex tool for Brakes (see link below) http://www.drapertools.com/b2c/b2cbrowse.pgm Wire brush Sand paper Screwdriver Mole grips or G Clamp Pliers Mallet Brake Pads Copper Grease |
Brake pad removal
As one of the more technical jobs you can undertake take on your Zafira replacing the brakes is also the most criticallty important, for obvious reasons. If you have any doubts what so ever do not attempt this job.
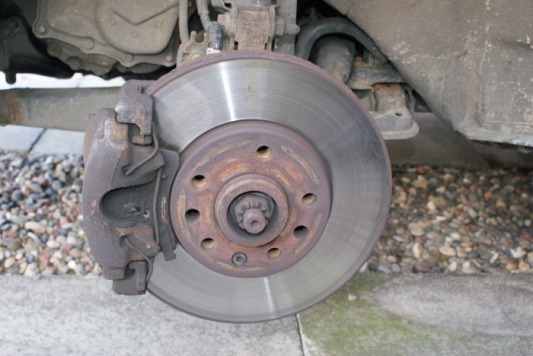
Before you start make sure the car is on level ground, securely jacked. Remember to crack the initial tightness off the wheel bolts before raising the wheel off the ground. When the wheel is up undo the bolts completely and remove the wheel.
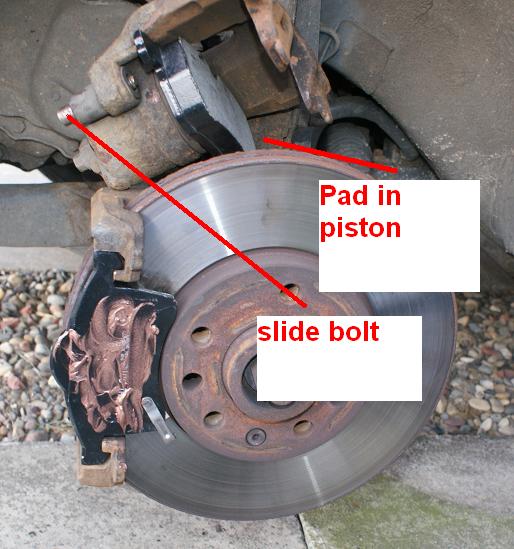
Once removed you can start by removing the two slide bolts at the rear of the calliper using the 7mm hex key (see pic) you may need to remove the plastic dust covers if they are still there.
Before you start make sure the car is on level ground, securely jacked. Remember to crack the initial tightness off the wheel bolts before raising the wheel off the ground. When the wheel is up undo the bolts completely and remove the wheel.
Once removed you can start by removing the two slide bolts at the rear of the calliper using the 7mm hex key (see pic) you may need to remove the plastic dust covers if they are still there.
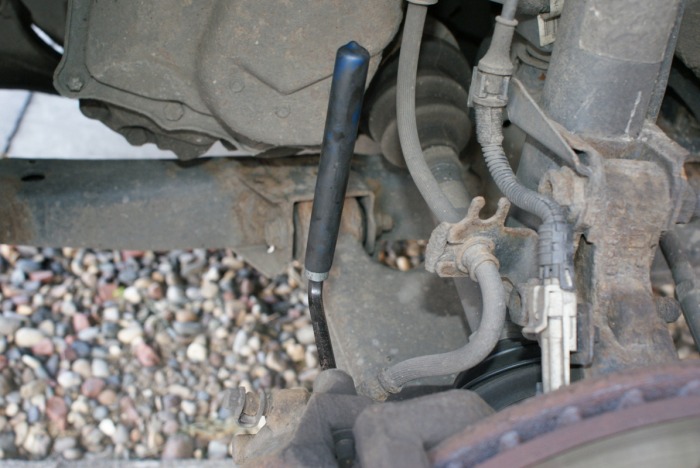
Once the two slide bolts have been fully undone you will need to use a small flat headed screwdriver to push them back slightly. Using the same driver undo the metal clip that secures the calliper to the pad (remember how it goes on!!!).

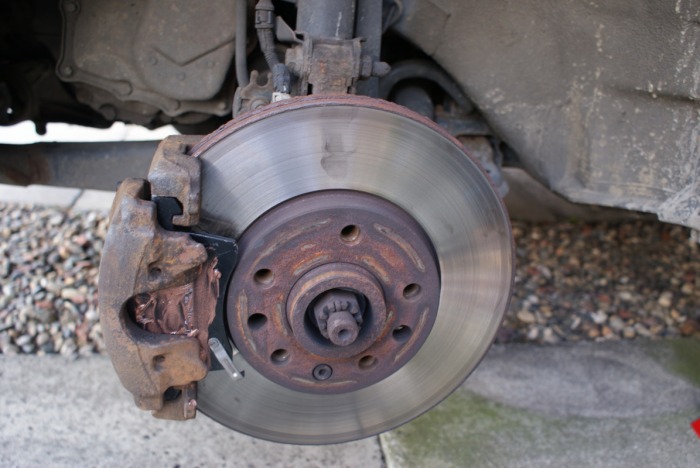
With the clip removed and the slide bolts undone, prise the calliper away from the disc, this may take some gentle persuasion but it will come. Chances are the pad closest to you will fall away quite easily, but the other pad is actually secured to the piston and simply needs pulling out of it. WARNING DO NOT LET THE CALLIPER HANG the brake line is not designed to take its weight, secure it with cable ties etc. Before you even consider putting in your new pads you need to thoroughly clean the callper and surrounding parts. Do this by using a wire brush, sand paper and screwdriver to get in crivices etc.
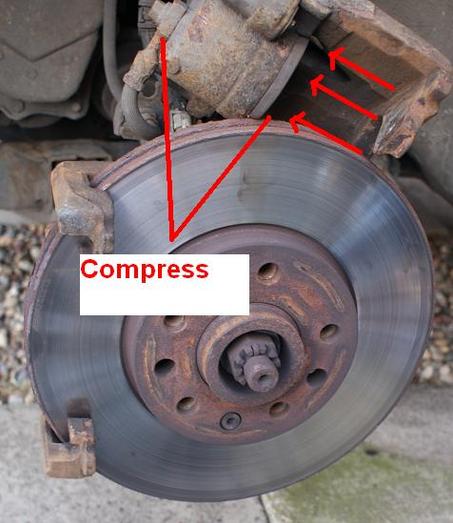
As your old pads are worn and smaller than your new pads the piston will have compressed further out, in order for your new pads to fit you need to manually push in the piston. On this car I used a set of mole grips and squeezed the piston back in, you could though use a G clamp with a piece of scrap wood or old brake pad to protect damage to the piston. Ensure that you remove the fluid filler cap before doing this to prevent internal air build up or flipping a seal.
Now get the pad that goes into the piston and apply some copper grease to the back of it. DO NOT GET ANY ON THE BRAKING SURFACE OR DISC, if so discard the part as it can not be cleaned off.. Place the pad into the piston (see pic). Now get the other pad, apply some copper grease (stops brake squeel) and place it carefully in the rigid part of the calliper (see pic).
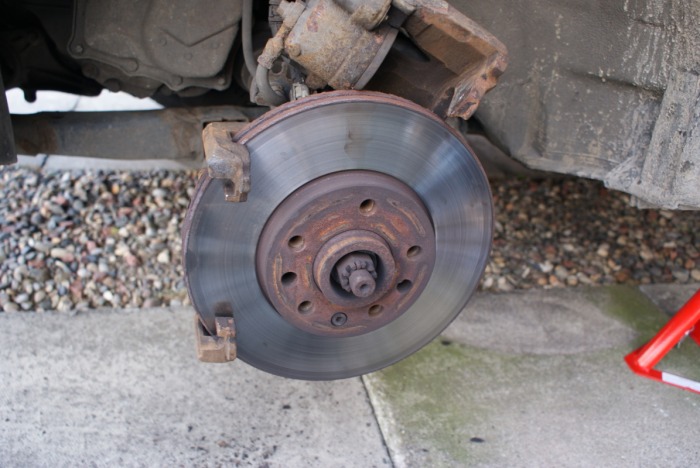
Now put the cleaned calliper over the disc and re-insert and tighten the slide bolts. You will notice (if observant) that the pad and calliper wobbles, well pop that sprung metal bar back on with a screwdriver, pair of long nose pliers and a whole lot of patience. Don't get this part wrong, it's a pretty essential element of the braking system, I can't emphasise this enough. Before you pop your wheel back on, turn on your cars ignition and pump the calliper (you may want an extra person to inspect the callipers movement). Don't worry if it feels spongy the calliper has to re-allign slightly.

|
Once done pop your wheen back on, tighten bolts slightly and drop the jack till the wheels are touching the floor, now fully tighten your wheel bolts accordingly.
New pads take a few miles to bed in so don't worry if your cars brakes feel a little spongy at first. |
Disc Removal
Although I never removed the discs in this sitting I have since replaced the discs (and pads again) and they are quite easy to do. behind the discs on the calliper mount there are two 19mm bolts holding the calliper mounts on, cover these in WD40 and leave for 5 minutes. If they are stiff, which they will be it may be worth extending the socket with a pole for leaverage (also turn the wheel appropriately to allow for better access, simple but we all forget the simple things when stressed with stuck bolts and access). The disc is held on with a single hex bolt, once this is removed use a mallet and give it a good old wollop and it will come off.

Very good site i have to say
maybe worth expalining to others about ABS - do not compress the piston is you have ABS but rather loosen the bleed nipple and clamp the pipe before pushing the piston back-this avoids the problems of 'flipping' the seals in the ABS pump
cheers
Steve
maybe worth expalining to others about ABS - do not compress the piston is you have ABS but rather loosen the bleed nipple and clamp the pipe before pushing the piston back-this avoids the problems of 'flipping' the seals in the ABS pump
cheers
Steve
